
夏に気になるCPUの温度
24h/365dの間、動かすサーバの天敵・・・
そう、それは室温です。
夏場は特にやばい。
現在6月頭だというのに室温は30℃に迫る勢い・・・・!
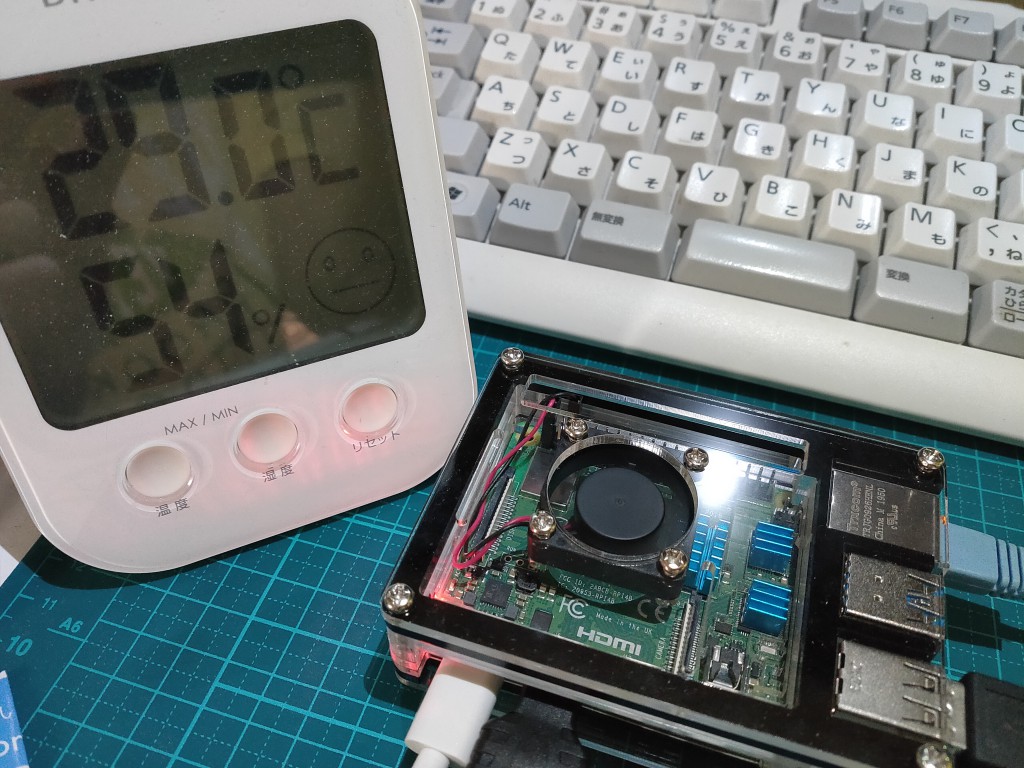
ということで、定期的にCPU温度を計測して、その結果をgoogleチャットに投げてもらうコード( python)を書いてみました。
これで精神衛生上、少しは安心できる!(CPU温度が下がるとは言っていない)
前提
企業向けのサービスである「Google G Suite」を利用していることが前提です。
おそらく一般ユーザー向けのgoogleハングアウトではwebhookを設定できないので本記事のスクリプトは作成できません。
ハングアウトだったりChatだったり分かりにくいから統一して欲しい
Python
Raspbery Pi 4 諸元
Pythonのバージョン
pi@raspberrypi:~ $ python --version
Python 2.7.16
2020/06/10現在、pythonの最新は「3.8.3」となっています。
本記事のPythonは「2.7.16」なのでご了承ください。
GoogleチャットでwebhookのURLを取得
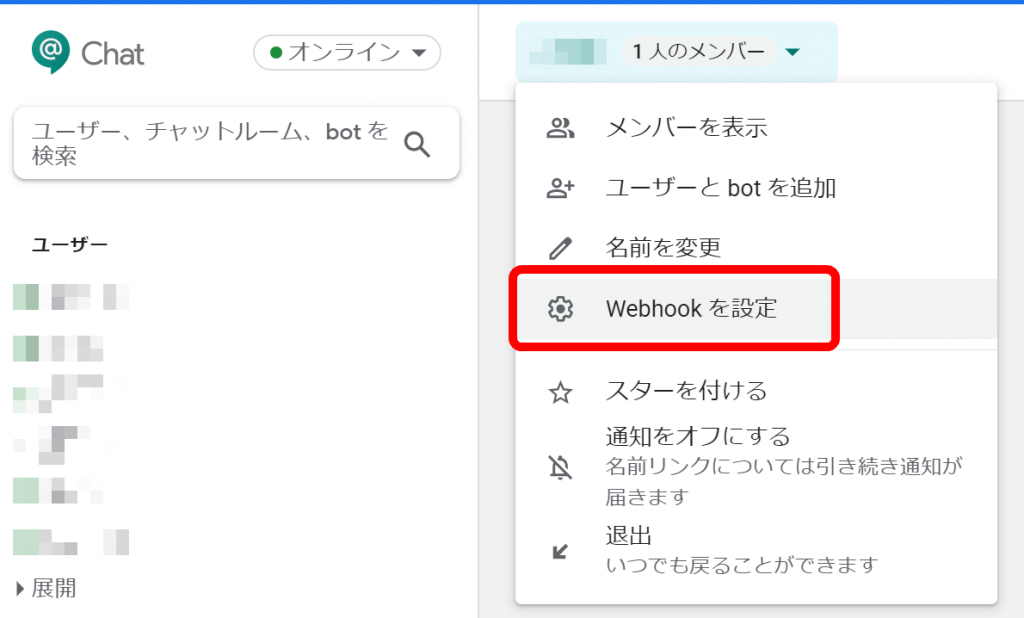
コードを書く前にGoogle chatでwebhookのURLを発行しておきましょう。
▼チャットルームを適当に作成したらプルダウンメニューから「Webhookを設定」
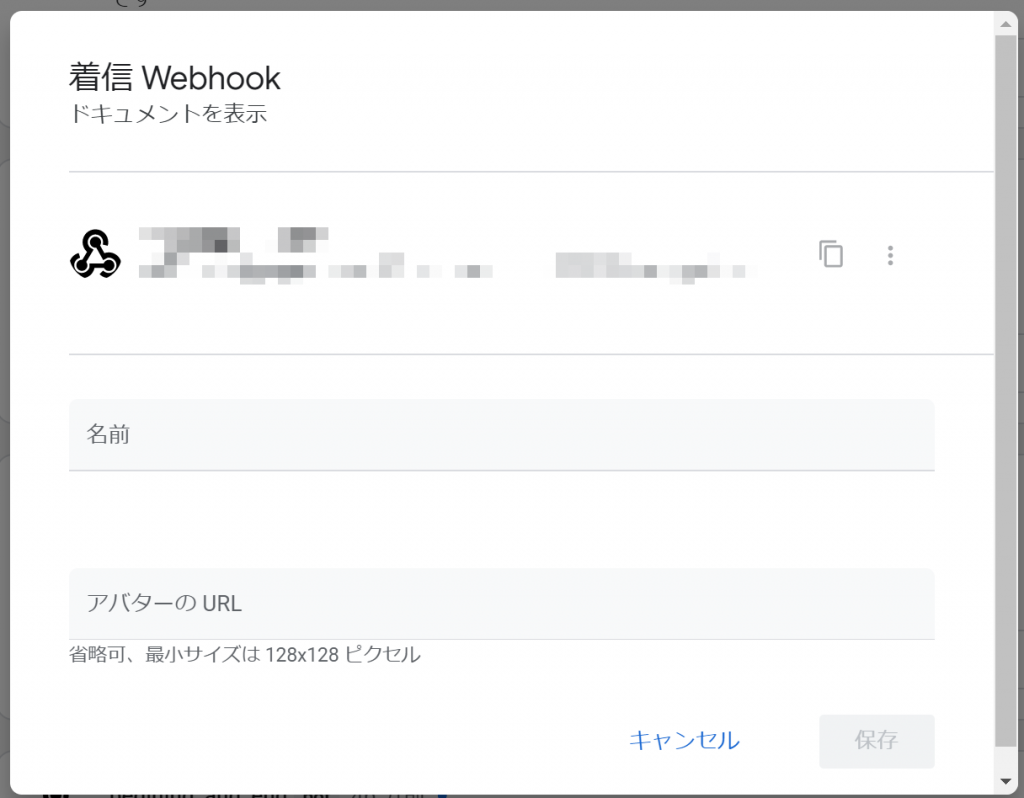
▼「名前」は適当に入力。既に1個webhookを作成済なのは無視してください。アバターのURLは任意です。
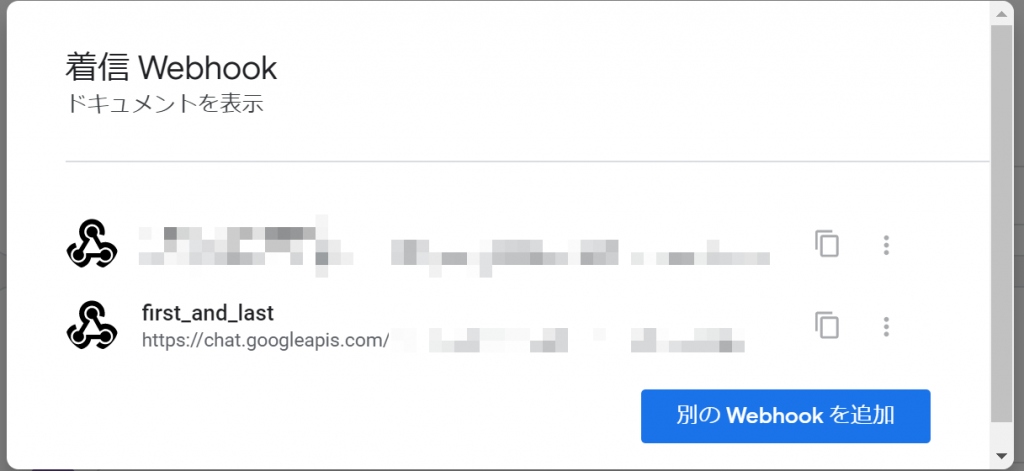
▼webhookを作成できたら表示されるURLをコピーしておいてください
次はpythonファイルを作成してコーディングしていきます。
hoge4.py
いくつかのサイト(後述)を参考に作成したのが以下のコードです。
切った貼ったすれば何とかなるもんですね(爆)
pi@raspberrypi:~ $ vim hoge4.py

#!/usr/bin/python
# -*- coding: UTF-8 -*-

import subprocess

from json import dumps
from httplib2 import Http

#shell script
def res_cmd(cmd):
  return subprocess.Popen(
        cmd, stdout=subprocess.PIPE,
        shell=True).communicate()[0]

#google chat webhook
def main():
    """Hangouts Chat incoming webhook quickstart."""
    url = 'https://chat.googleapis.com/**********'

#cmd
    cmd_1 = ("vcgencmd measure_temp")
    cmd_2 = ("date")

#chat text
    bot_message = {
        'text' : res_cmd(cmd_2) + "ラズパイの温度は" + res_cmd(cmd_1) + "です"}

    message_headers = {'Content-Type': 'application/json; charset=UTF-8'}

    http_obj = Http()

    response = http_obj.request(
        uri=url,
        method='POST',
        headers=message_headers,
        body=dumps(bot_message),
    )

    print(response)

if __name__ == '__main__':
    main()
素人なもんで粗はあるかと思いますが、以下解説です。
セキュリティ面は一切考慮していないのでご注意ください。
subprocess
▼最初にimportでモジュールを読み混んでます。
import subprocessCPU温度を計測するコマンドや現在時間を取得するコマンドはシェルコマンドなので、pythonに組みこむためにsubprocessを使用しています。
▼シェルスクリプト関数はこちら
#shell script
def res_cmd(cmd):
  return subprocess.Popen(
        cmd, stdout=subprocess.PIPE,
        shell=True).communicate()[0]
▼cmd(実際のシェルコマンド)は以下で定義。CPU温度計測と時間取得です。
#cmd
    cmd_1 = ("vcgencmd measure_temp")
    cmd_2 = ("date")
google chat webhook
▼最初に取得したwebhookのURLを入力します
#google chat webhook
def main():
    """Hangouts Chat incoming webhook quickstart."""
    url = 'https://chat.googleapis.com/**********'
▼google chatに投げたい文章を記載します。シェルスクリプトの結果を入れてます。
#chat text
    bot_message = {
        'text' : res_cmd(cmd_2) + "ラズパイの温度は" + res_cmd(cmd_1) + "です"}
pythonファイルの実行
おそらくデフォルトでは以下のライブラリが無いため、実行前にインストールしておきましょう。
$ pip install httplib2▼ライブラリ一覧を調べるコマンド
$ pip list準備が整ったら以下のコマンドでpythonファイルを実行してみましょう。
$ python hoge4.pyうまく逝けばgoogle chatにメッセージが飛びます。

ここまでできると欲が出るのが人間というもの・・・・
定期的にCPU温度を自動で送って欲しいですよね?(楽したい)
cron
cronを使って5分毎に先ほど作成したpythonファイルを実行する設定にします。
まずは以下のコマンドで設定ファイルを編集しましょう。
$ crontab -e確か最初にコマンドを入力したときはeditorを選べと表示されます。
nanoやらvimやらお好きなもので編集してください。
▼末尾に1行追加するだけです
# Edit this file to introduce tasks to be run by cron.
#
# Each task to run has to be defined through a single line
# indicating with different fields when the task will be run
# and what command to run for the task
#
# To define the time you can provide concrete values for
# minute (m), hour (h), day of month (dom), month (mon),
# and day of week (dow) or use '*' in these fields (for 'any').
#
# Notice that tasks will be started based on the cron's system
# daemon's notion of time and timezones.
#
# Output of the crontab jobs (including errors) is sent through
# email to the user the crontab file belongs to (unless redirected).
#
# For example, you can run a backup of all your user accounts
# at 5 a.m every week with:
# 0 5 * * 1 tar -zcf /var/backups/home.tgz /home/
#
# For more information see the manual pages of crontab(5) and cron(8)
#
# m h  dom mon dow   command

*/5 * * * * python /home/pi/hoge4.py
▼以下のコマンドで設定内容を確認できます
$ crontab -lrsyslog
デフォルトだとcronのログは出力されないのでついでに設定変更しておきましょう。
$ sudo vim /etc/rsyslog.conf▼「RULES」セクションのcron行の「#」を削除するだけです
# 省略

###############
#### RULES ####
###############

#
# First some standard log files.  Log by facility.
#
auth,authpriv.*                 /var/log/auth.log
*.*;auth,authpriv.none          -/var/log/syslog
#cron.*                          /var/log/cron.log
daemon.*                        -/var/log/daemon.log
kern.*                          -/var/log/kern.log
lpr.*                           -/var/log/lpr.log
mail.*                          -/var/log/mail.log
user.*                          -/var/log/user.log

# 省略
お疲れ様でした。
これで自堕落な生活にまた一歩近づくことができましたね(え
参考サイト
python公式

google公式 Incoming webhook with Python

Pythonでシェルコマンドの実行結果をリストで渡す方法

[超簡単]Hangouts Chat の incoming webhooks を使ってAPIから簡単にメッセージを投稿する
Raspberry Piでcronを使ってPythonを定期実行する
まとめ
- pythonは遊びやすいスクリプト
- webhookを使えばGoogle Chatのチャットbotが簡単に作成できるよ
- cronを使えばファイルやコマンドの自動化が簡単
このスクリプトを応用すれば水温の温度測定>アラートメール通知&空冷ファン制御が完全自動でできるんじゃね?
やるとは言ってない


コメント